Production - Lathe, Hands, and Brush
The 5 Stages of Ceramics Production
Modeling
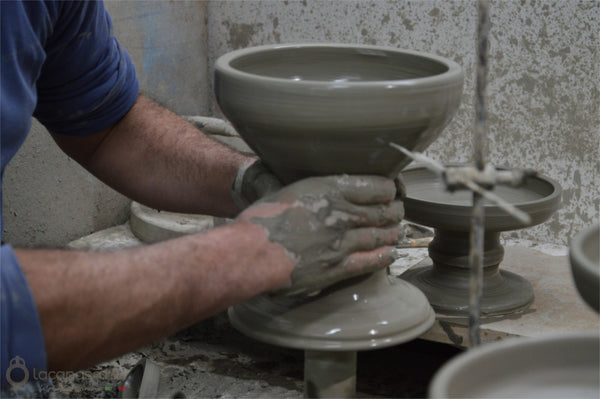
Our ceramics begin as raw clay, which can be shaped using many different techniques depending on the object being made. Freehand clay modeling is the oldest method of working with clay and involves using the hands to create a three-dimensional shape such as a fruit, a doll, or a knight. The artisan then uses wooden tools, gouges, and iron points to define the details. To create curved, rounded forms such as vases, lamps, and candle holders, the master ceramicist uses a potter’s wheel, a rotating disk on which they place a shapeless lump of clay and shape it with their hands as it spins rapidly.
The clay must be kept constantly wet so it slides more easily between the fingers and makes shaping easier. It takes a lot of practice and physical strength to hold the clay in your hands while the wheel spins at high speed. L’Raw clay can be cut into slabs of a specific thickness with a wire, or rolled out with a rolling pin. The slabs are then bent to make wall lights, decorative panels, and objects with angular shapes.
L’Drying and First Firing
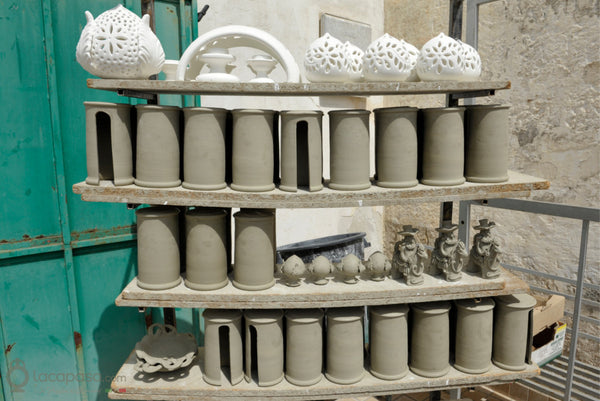
Freshly shaped objects made from raw clay must dry slowly in the open air to lose their internal moisture. After a few days, they take on a hard, compact texture and a light gray color, a stage known as “leather hard.” This is the right time to carve the surface of the ceramics with a scalpel to create fascinating decorative effects on lamps, candle holders, and wall lights. Objects made from raw clay are fired in large kilns that reach very high temperatures. Firing can take many hours, and the temperature must rise and fall gradually. After firing, the product shrinks in volume. The result is a rust-red object: “biscuit” or “terracotta.”
Glazing
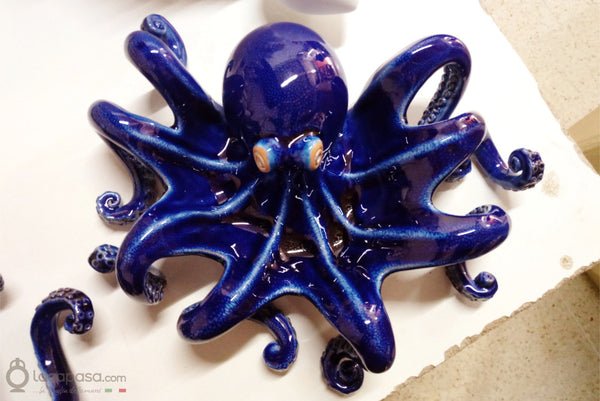
For dip glazing, the bisque is dipped with the aid of metal tongs into a white or colored liquid solution, the glaze. Before being dipped in the glaze, the ceramics must be perfectly clean, smooth, and dust-free. The porous terracotta surface absorbs the glaze and becomes powdery to the touch. Any excess glaze is removed before the second firing. The glaze can also be sprayed onto the object using an airbrush, an aluminum or steel device fitted with a reservoir to hold the liquid to be sprayed.
Brush, Sgraffito, Openwork, or Carved Decoration
L’The glazed object must dry for several days. At this stage, the decorator paints the surface of the object with brushes and ceramic paints, drawing flowers, leaves, animals, and landscapes with different types of brushes and strokes to achieve the desired decorative effects. In sgraffito decoration the dry glaze covering the ceramic surface can be incised with a burin, an iron point to draw flowers, leaves, and complex geometric patterns on the object’s surface.
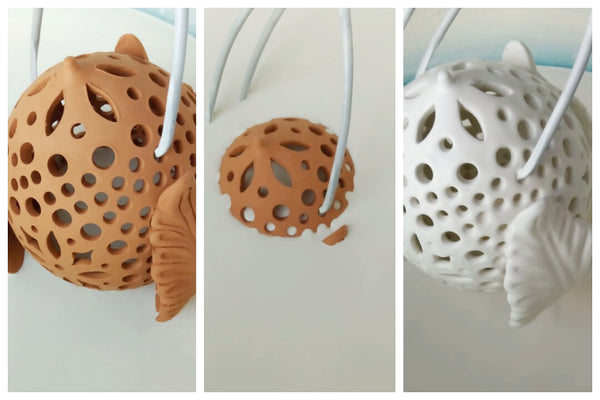
The surface glaze is literally scratched away along the design lines to reveal the terracotta underneath. The decorator can then fill the various spaces with colored glazes and leave them to dry until the next firing. The technique of openwork or Carving is applied to the object while it is still unfired, in the stage known as ‘leather-hard’. L’artisan carves the clay with a scalpel and creates flowers, leaves, or geometric designs made up of large and small circles, diamonds, rhombuses, and ellipses. These shapes filter the light from lamps, wall lights, and candle holders, creating magical visual effects.
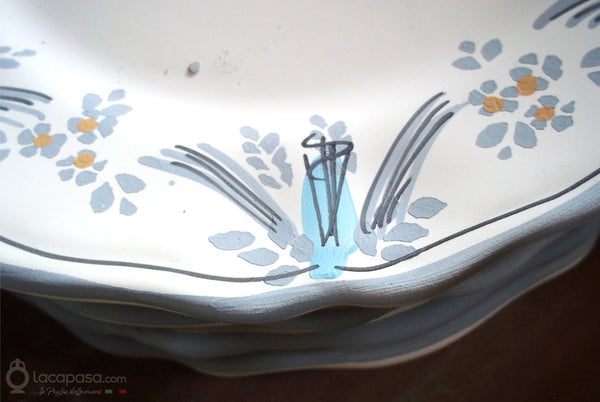
The Second Firing
After glazing and decorating, the artisan fires the object a second time to set the colors and make them shine. Glazes and varnishes melt in the heat, then vitrify and become waterproof. This second firing takes place in a kiln at a temperature between 850°C and 970°C. The ceramics are finally ready to show off their fascinating shine!